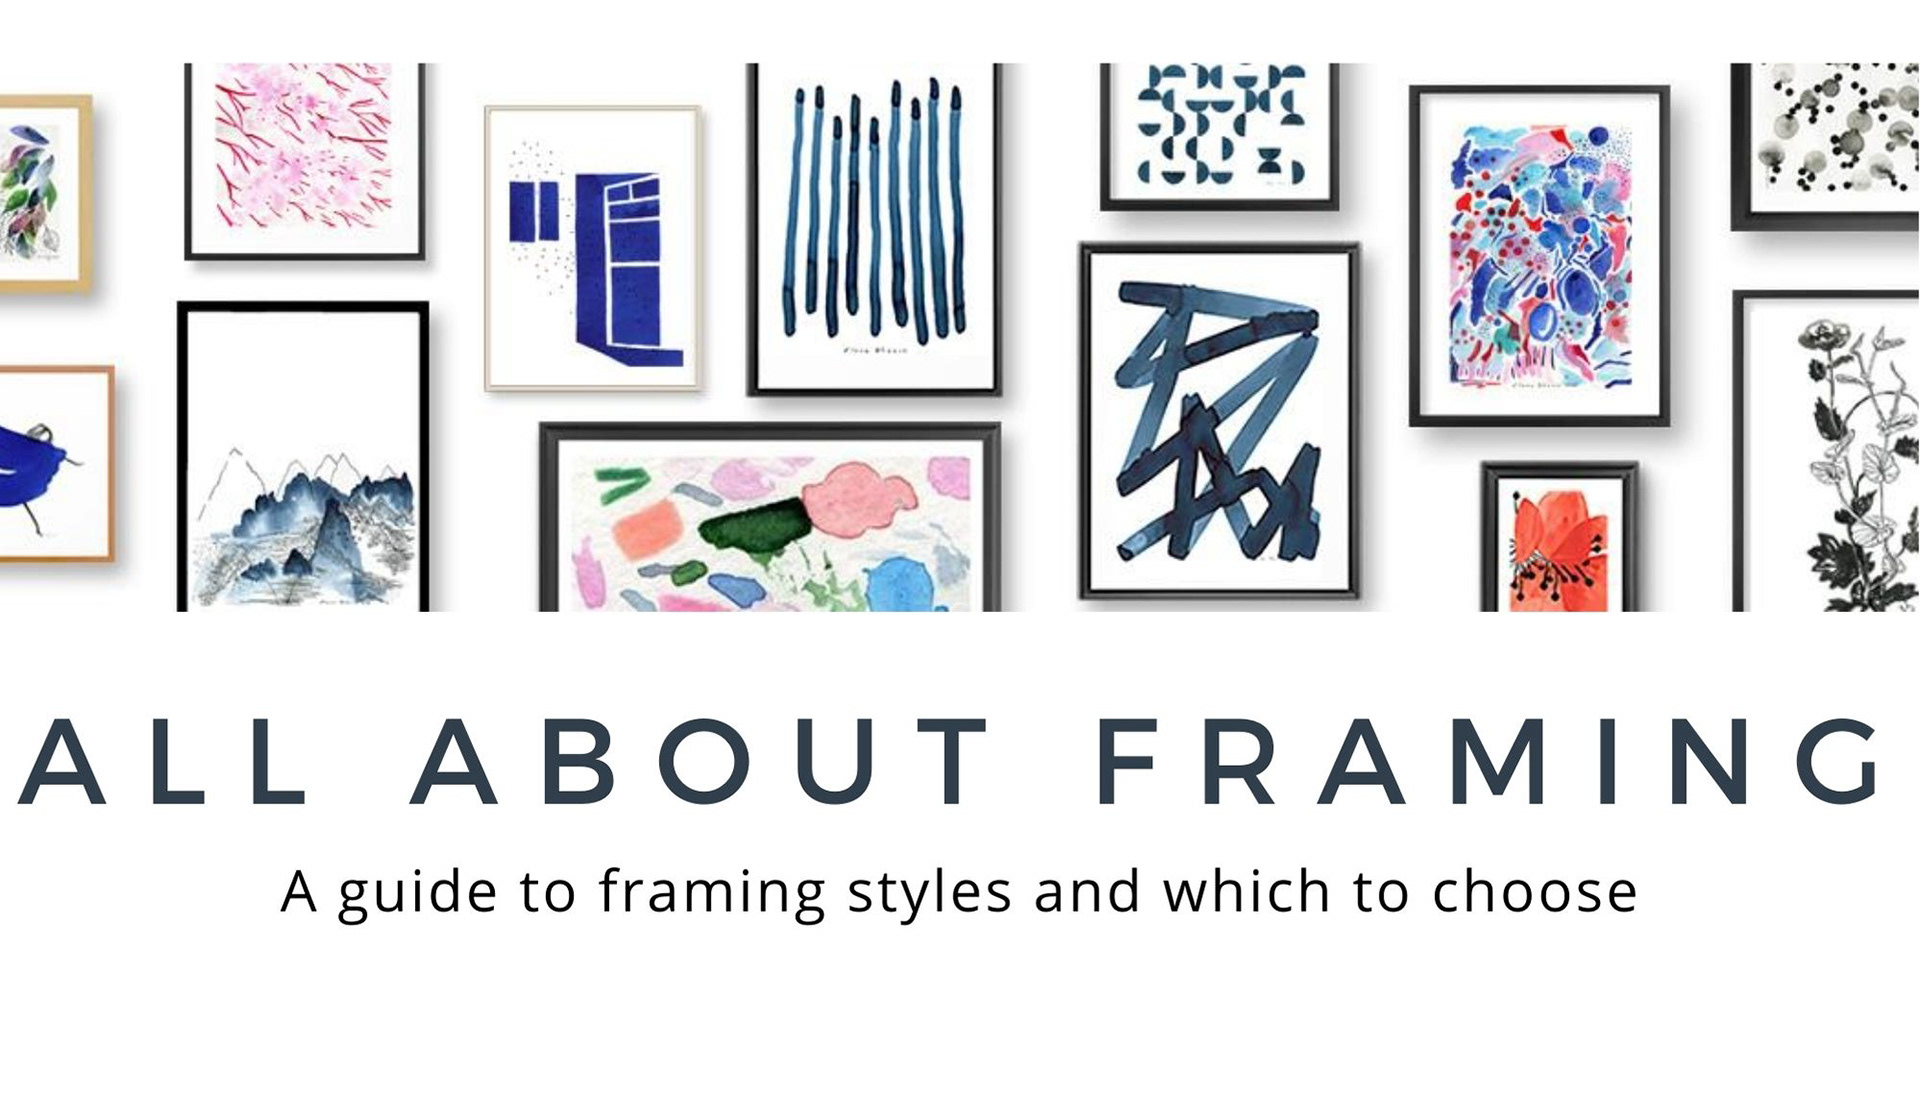
Wanting to hang up your favourite artwork but undecided on how to go about it?
Is the framing question stopping you to buy a piece you absolutely love?
This guide will help you with sizes and styles and will give you ideas on how to work with them.
AND if you are interested in Dreamy me is me prints, read below what border options we offer to make easy to frame with any style.
So, which are the main framing styles and when to use them?
Lets have a look!
1. PRINT FILLS THE WHOLE FRAME
- Most straightforward.
- Print size = Frame size.
- Works good with large size prints and cut out images (as pictured)
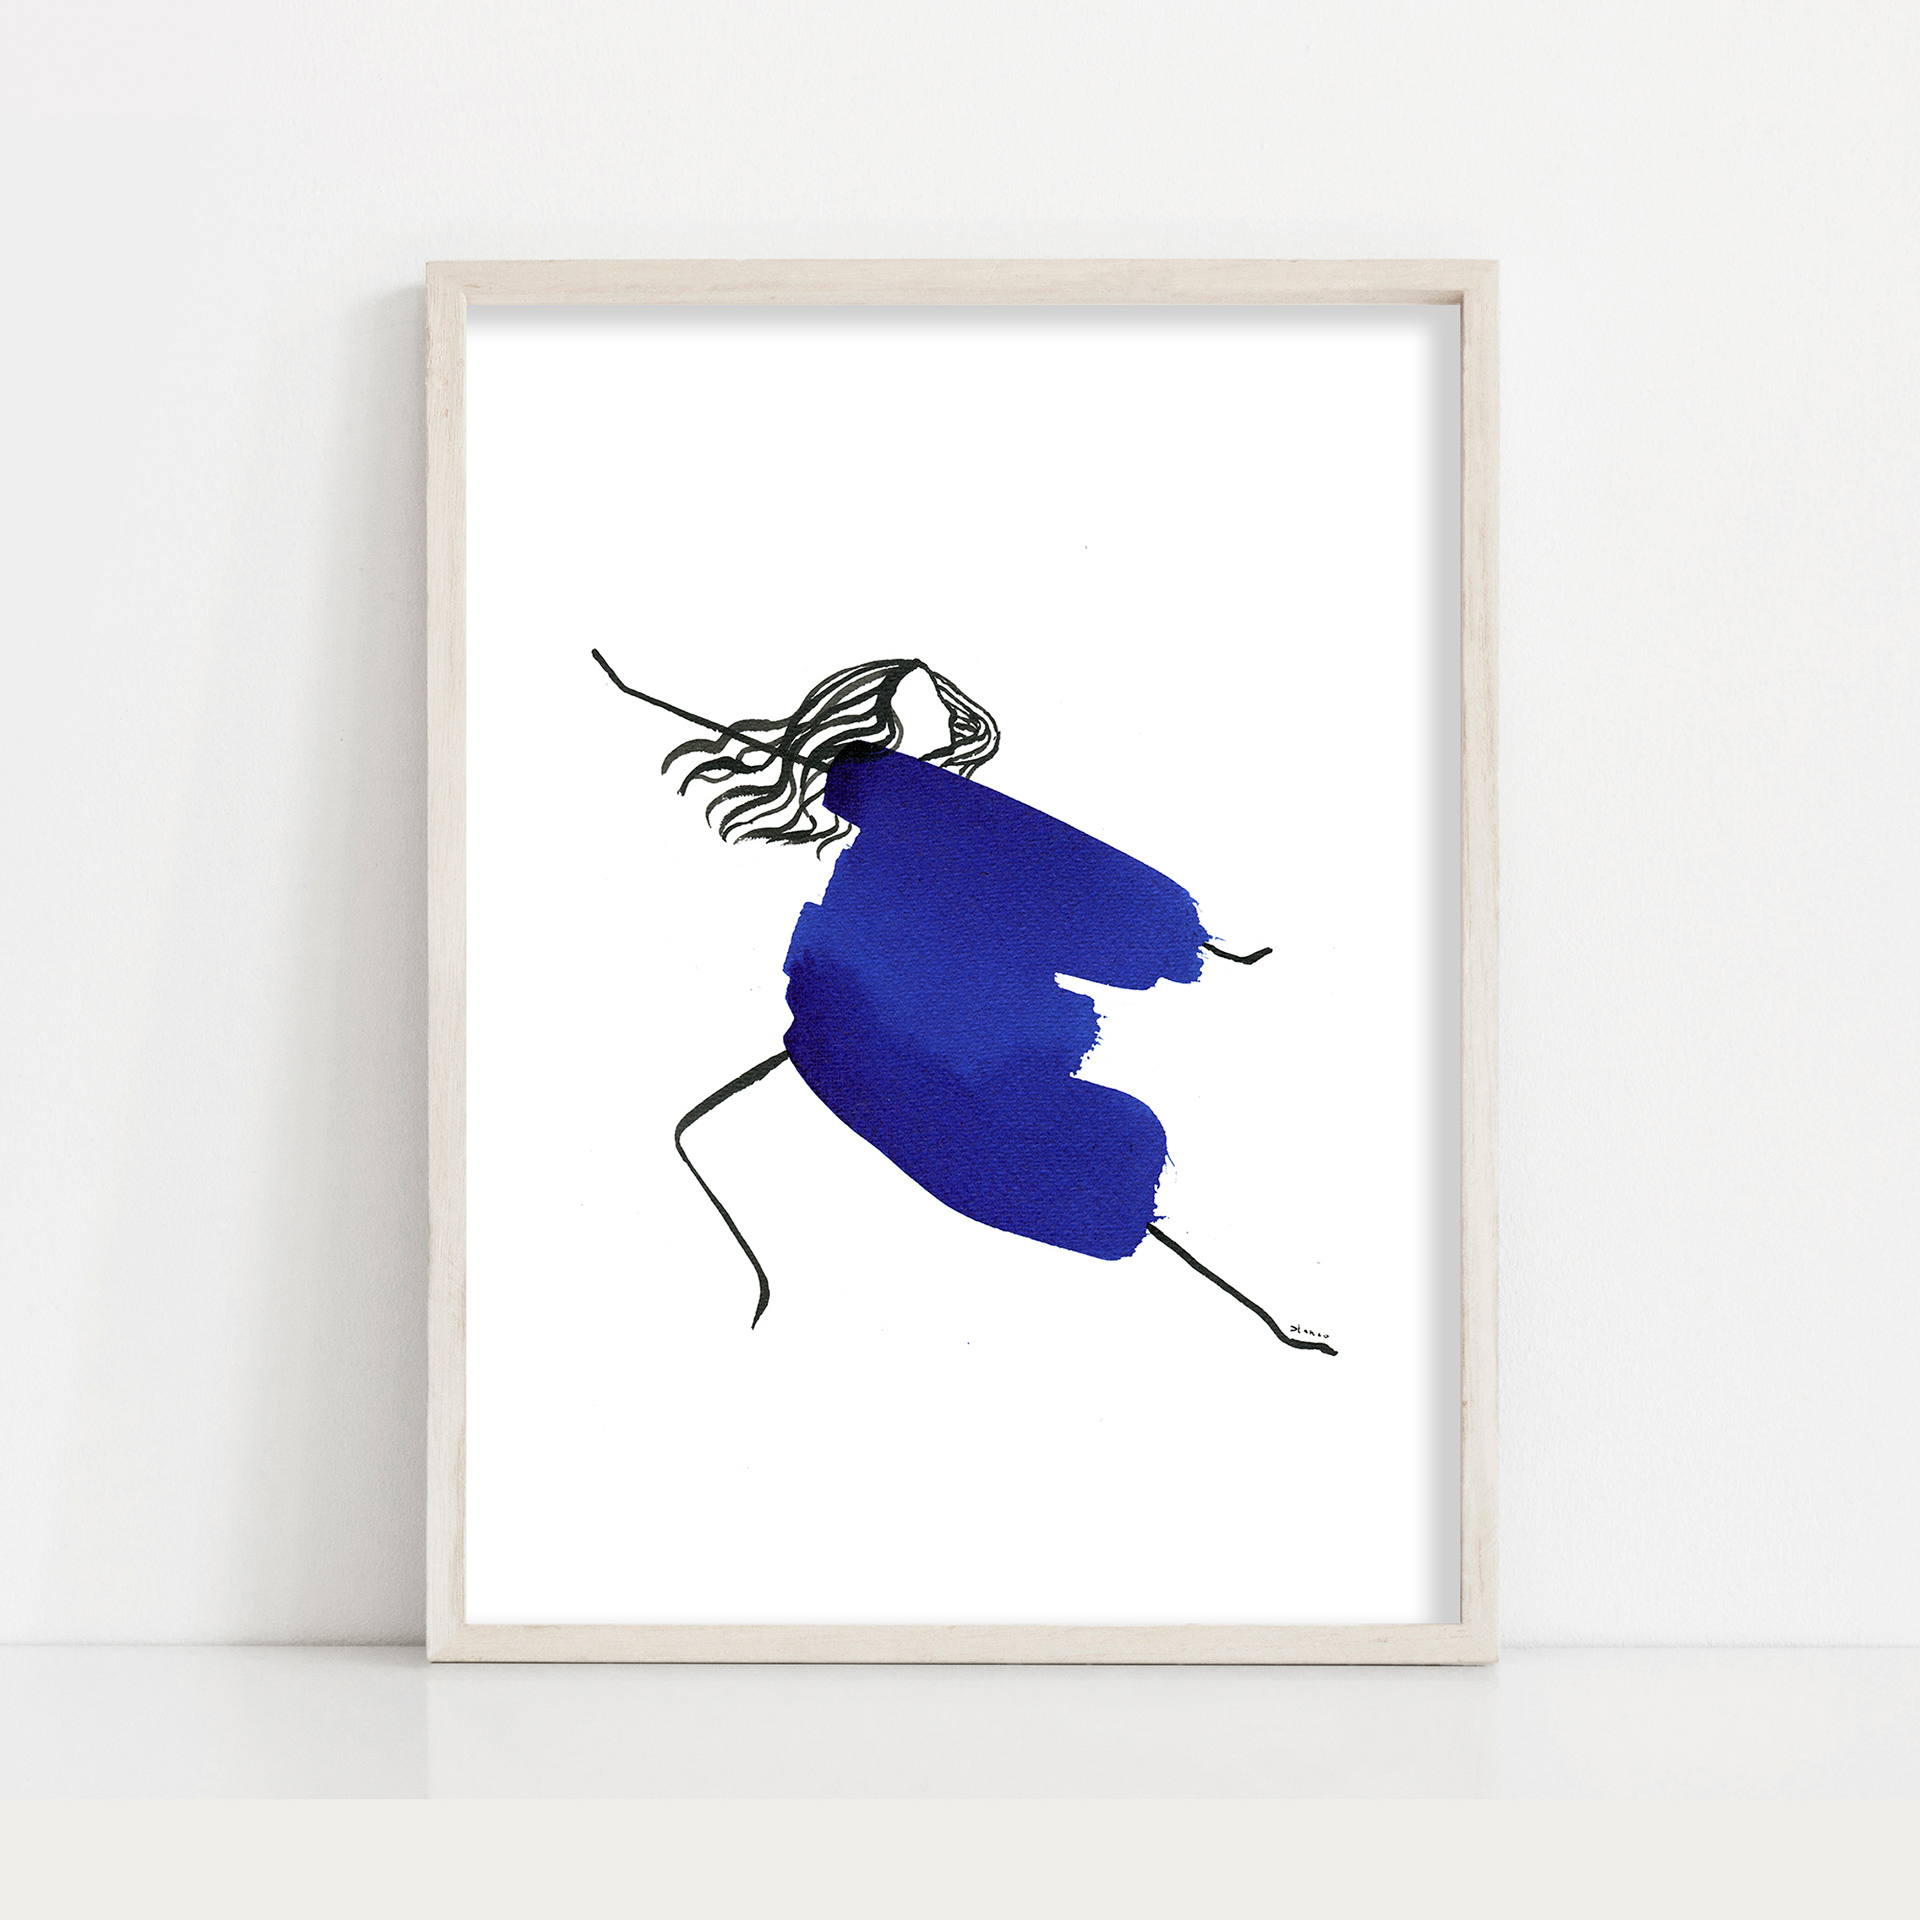
1. Artwork above by Elena Blanco for DreamyMeisme
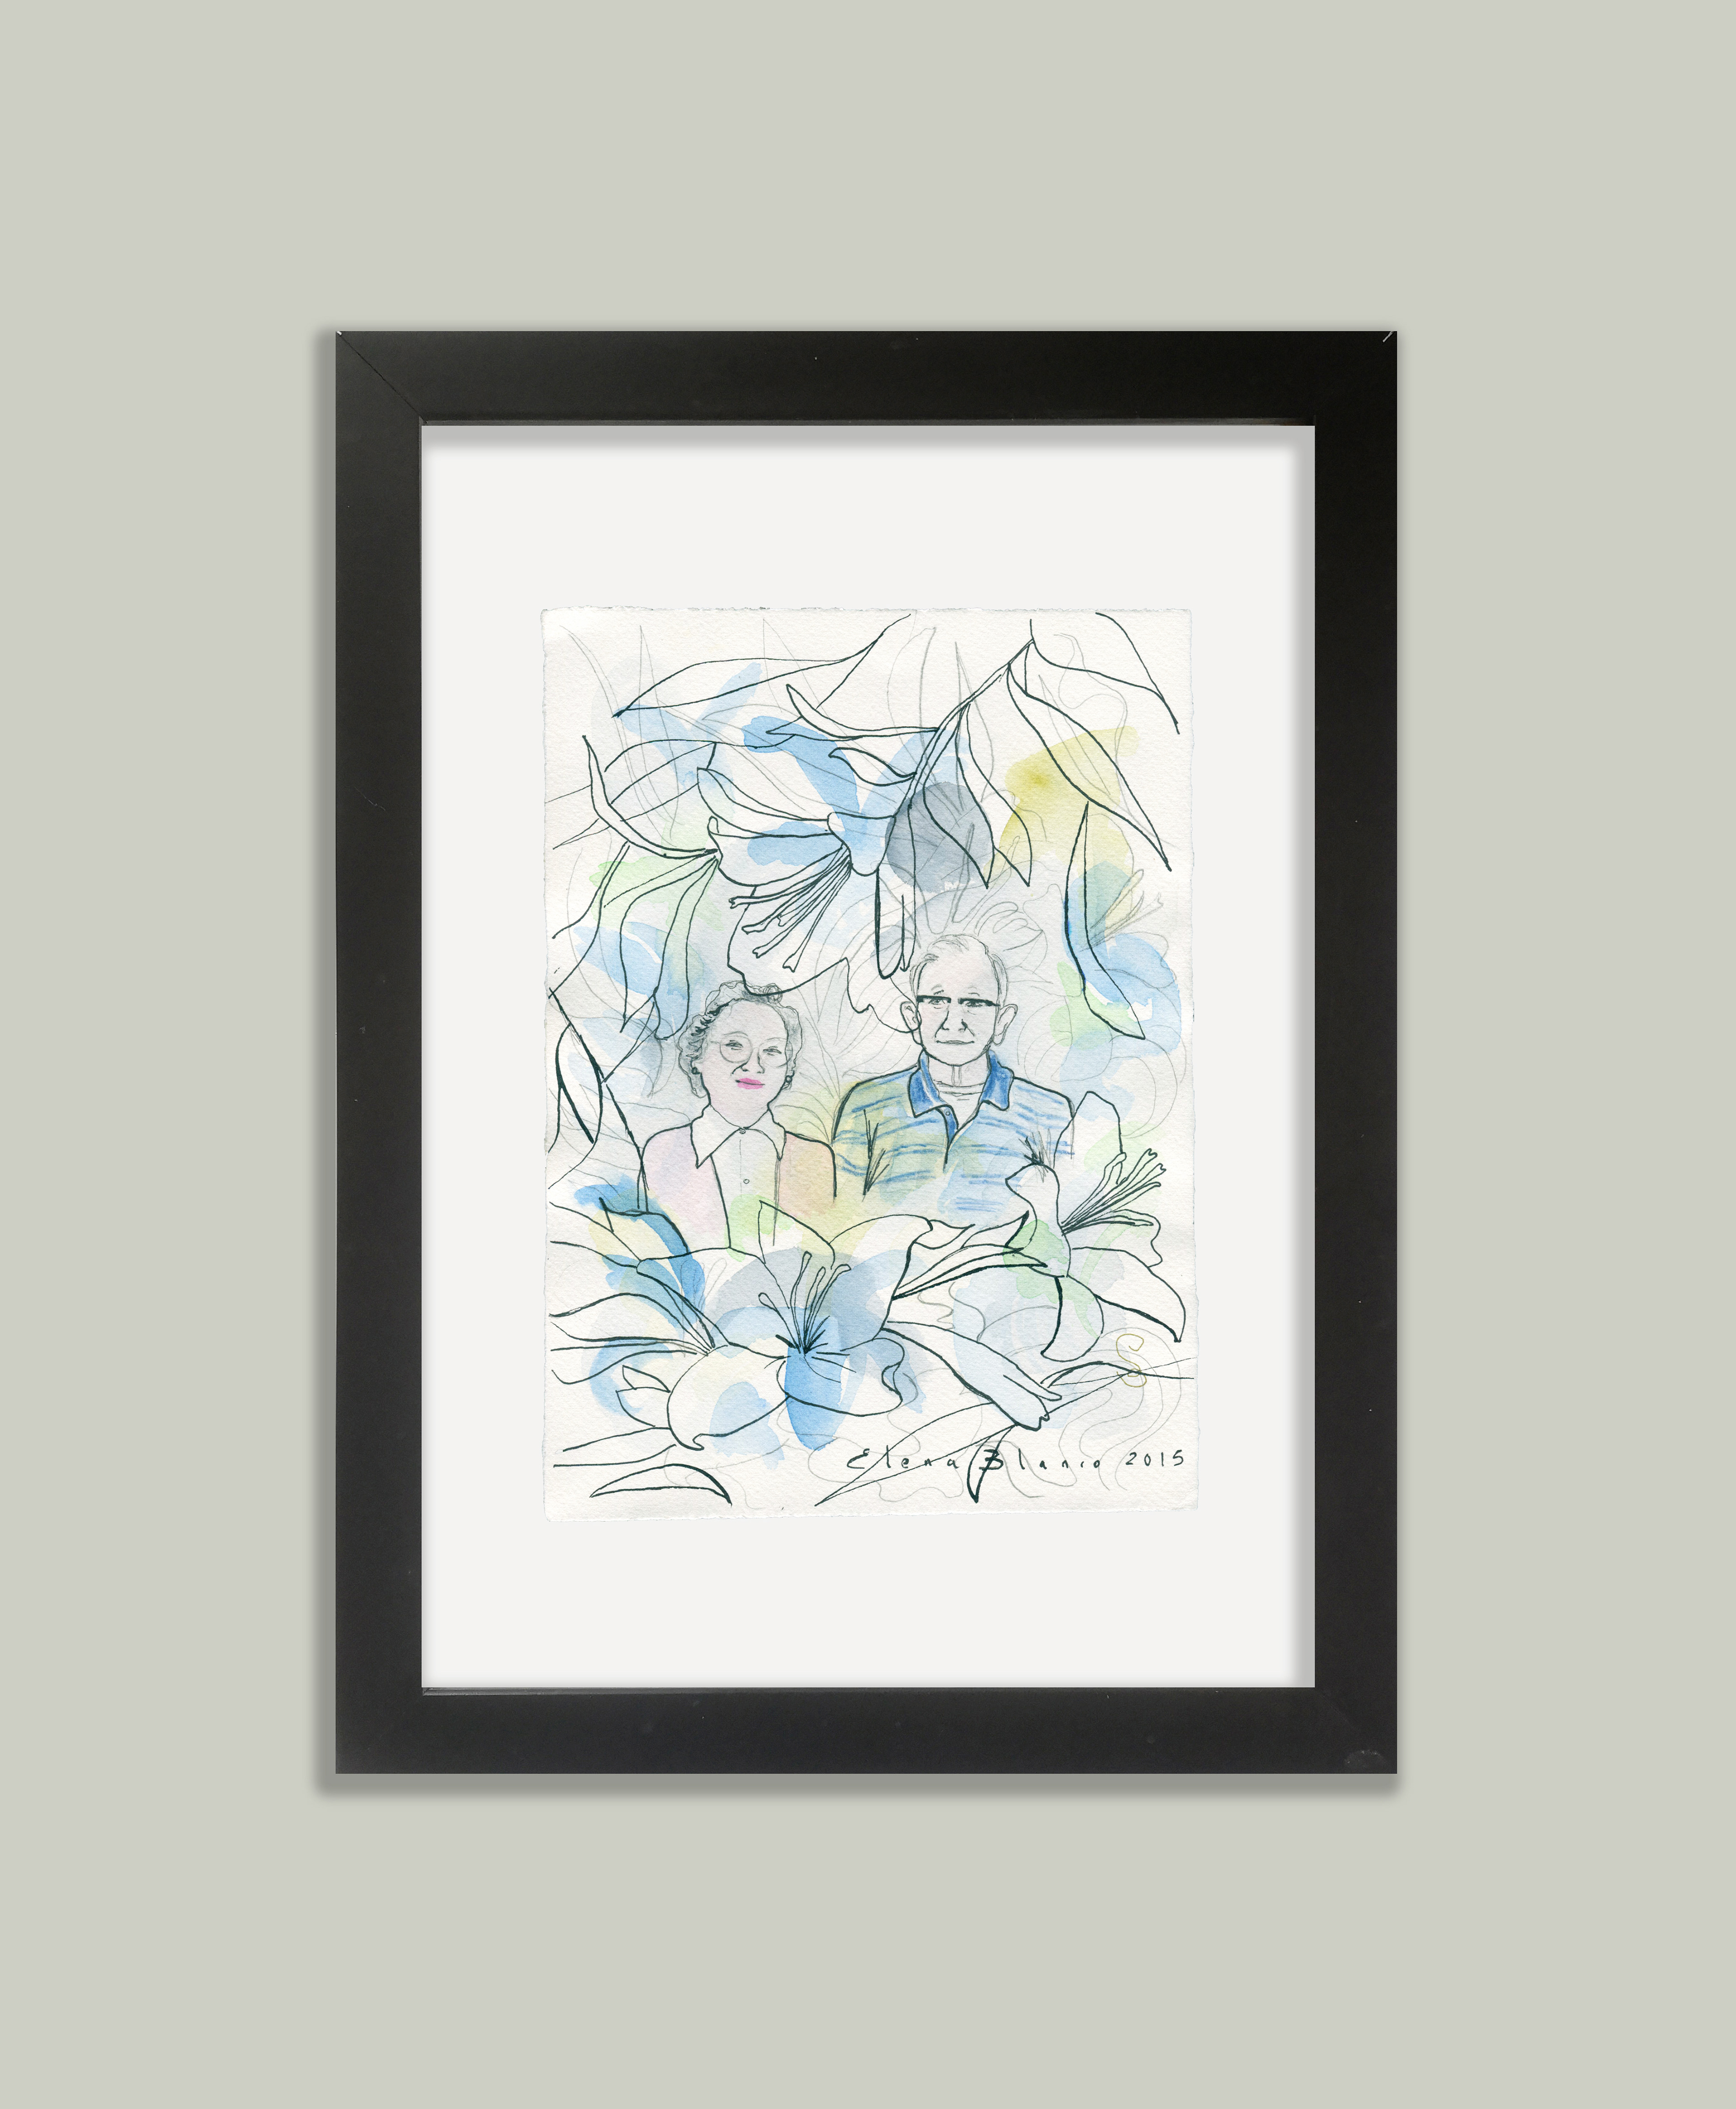
2. USING MATTING/MOUNTING BOARD
- Classic, neat and elegant.
- The print will be seen through the mounting window. Print size = board's window size.*
- Gives more focal point and enhances small pictures.
2. Artwork above by Elena Blanco for DreamyMeisme
* A few clarifications: Strictly speaking, the matting / mounting board window will be slightly smaller than the total size of your paper and will overlap it, covering the edges. When ordering your board, bear in mind that window sizes should be given as the size of the print they work with (although they'll be -strictly speaking- a bit smaller ( aproximately 1/4'')
In the sample above the print comes with a white border that you can see through the board's window, producing a lovely, "second" trim. For this effect you will need your print to come with a border around the image.
If you are interested in Dreamy me is me prints, read below what border options we offer to make easy to frame with any style.
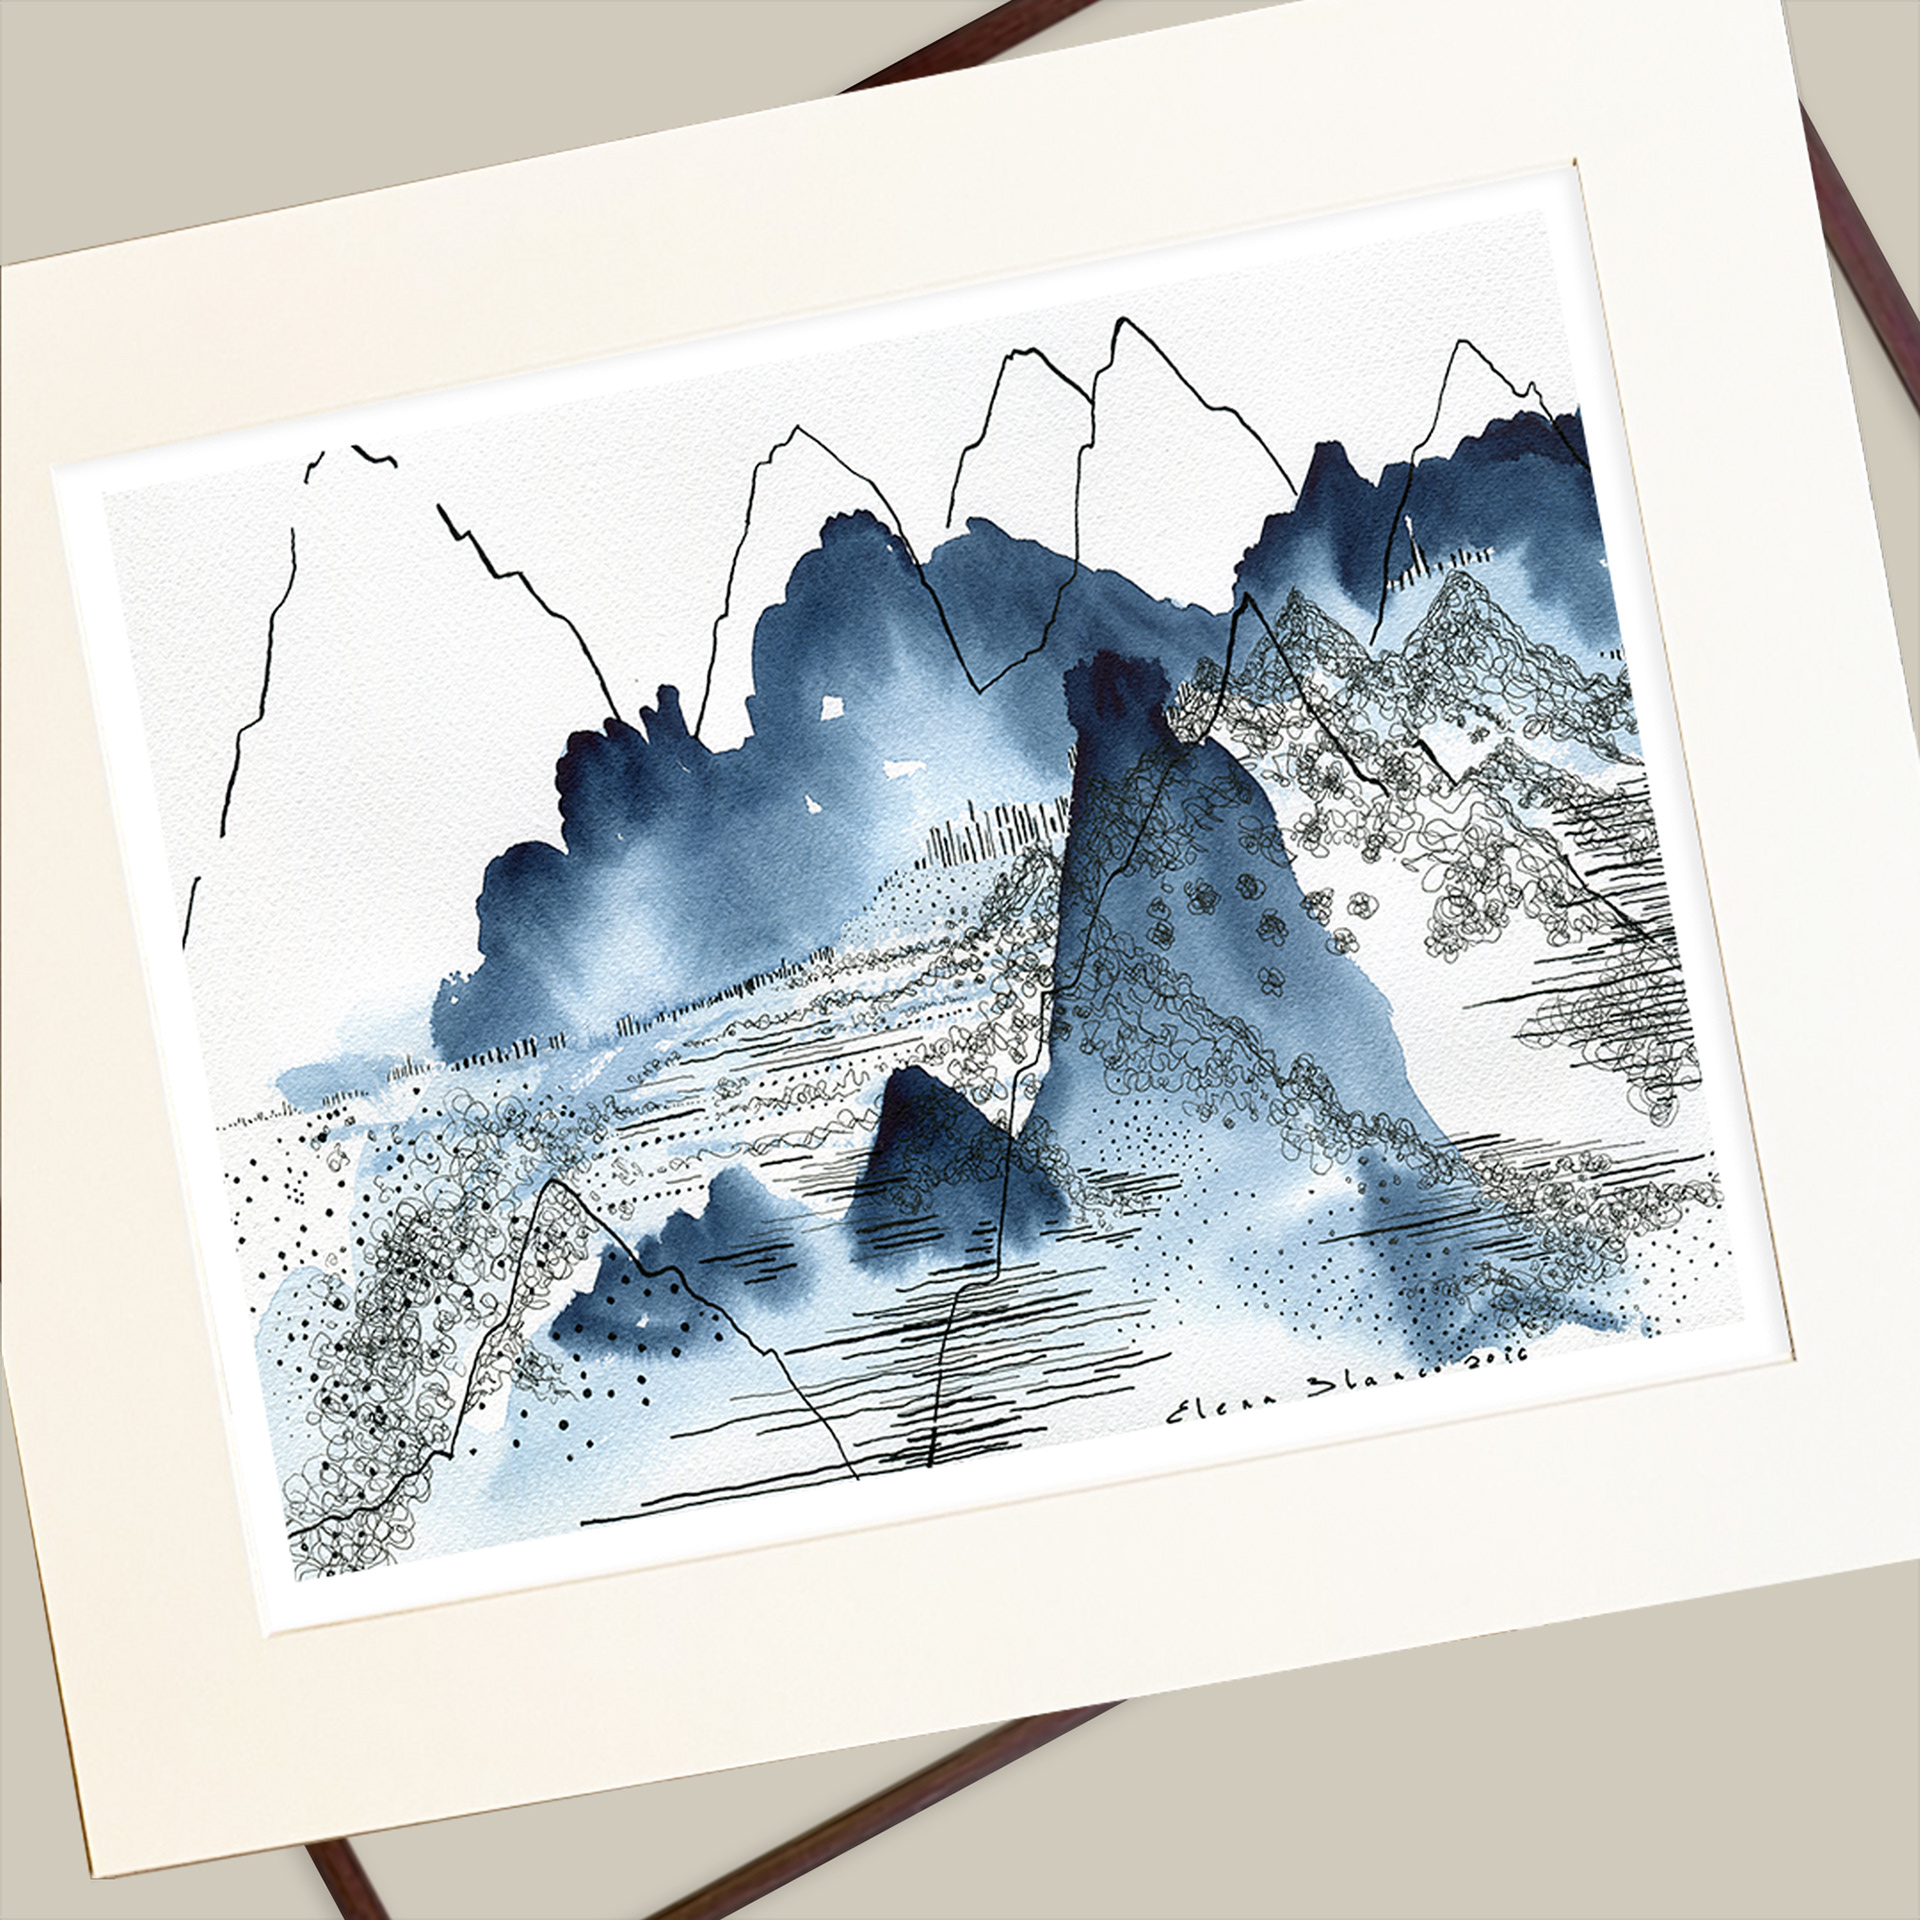
3. THE ARTWORKS'S EDGES ARE DISPLAYED
- The artwork is seen whole, edges included, which can look lovely with deckle edges or hand cut paper.
- This style looks beautiful with box frames which give an extra depth to the display (as pictured).
- In this example the artwork has been mounted towards the back of the frame directly on the mount board.
3. Artwork above by Elena Blanco for DreamyMeisme
*TIP: If you are DIYing this style, you can use a matt/mounting board or fine art paper to cover the back of your frame and position your artwork on top. Make sure you use good quality removable spray mount to avoid damaging the piece by permanently sticking.
4. SEE-THROUGH FRAMES
- These are frames which have glass at the back as well as the front, so you see through between the print and the frame.
- Here too, the artwork will be smaller than the frame and its edges will be displayed.
-It has a romantic, old-fashioned look. It works specially well with old pictures and original pieces.
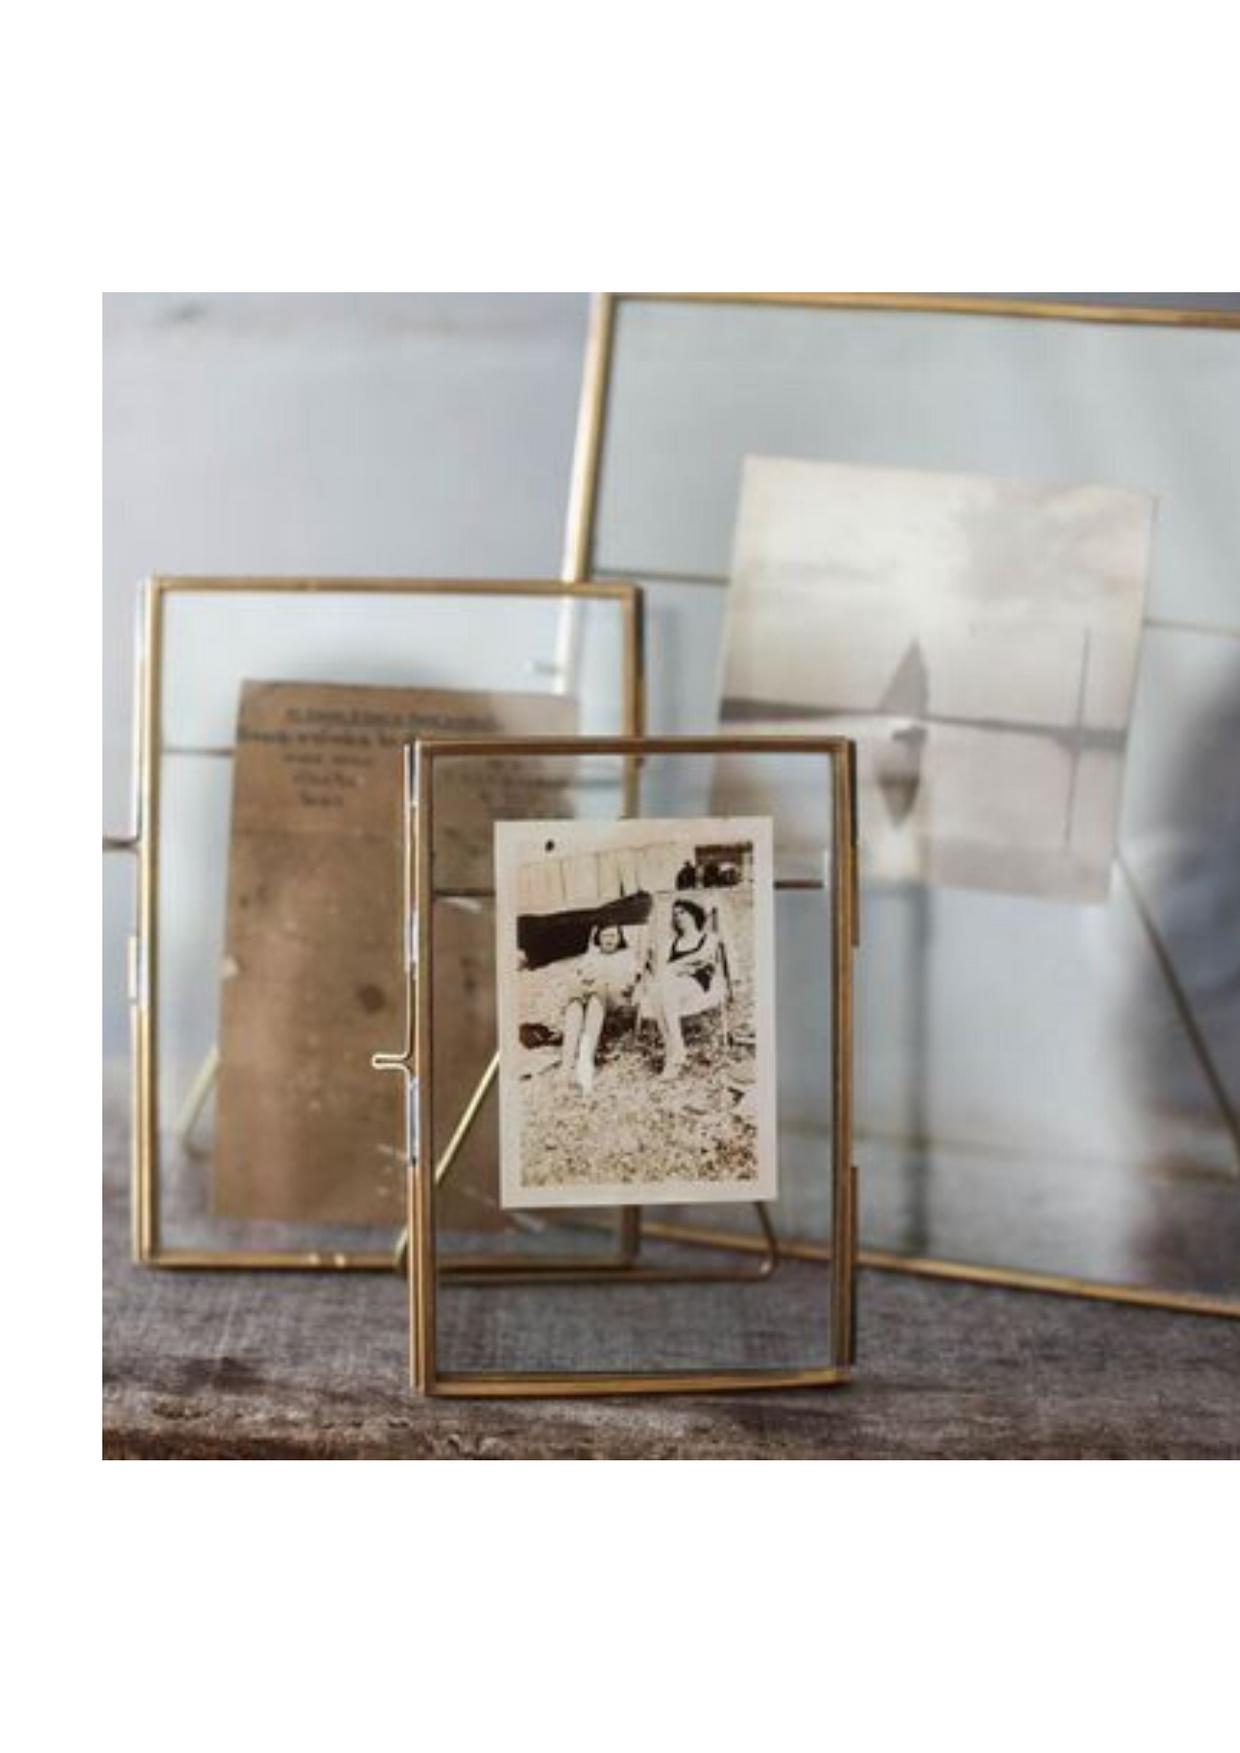
Danta frames above by nkuku
Ordering from Dreamy Me is me?
At Dreamy Me is me we offer art prints with 3 different border styles that will accommodate different tastes and decorating ideas. They can all be used with each of the framing styles listed above. However they are specially suited for some particular designs as explained below.
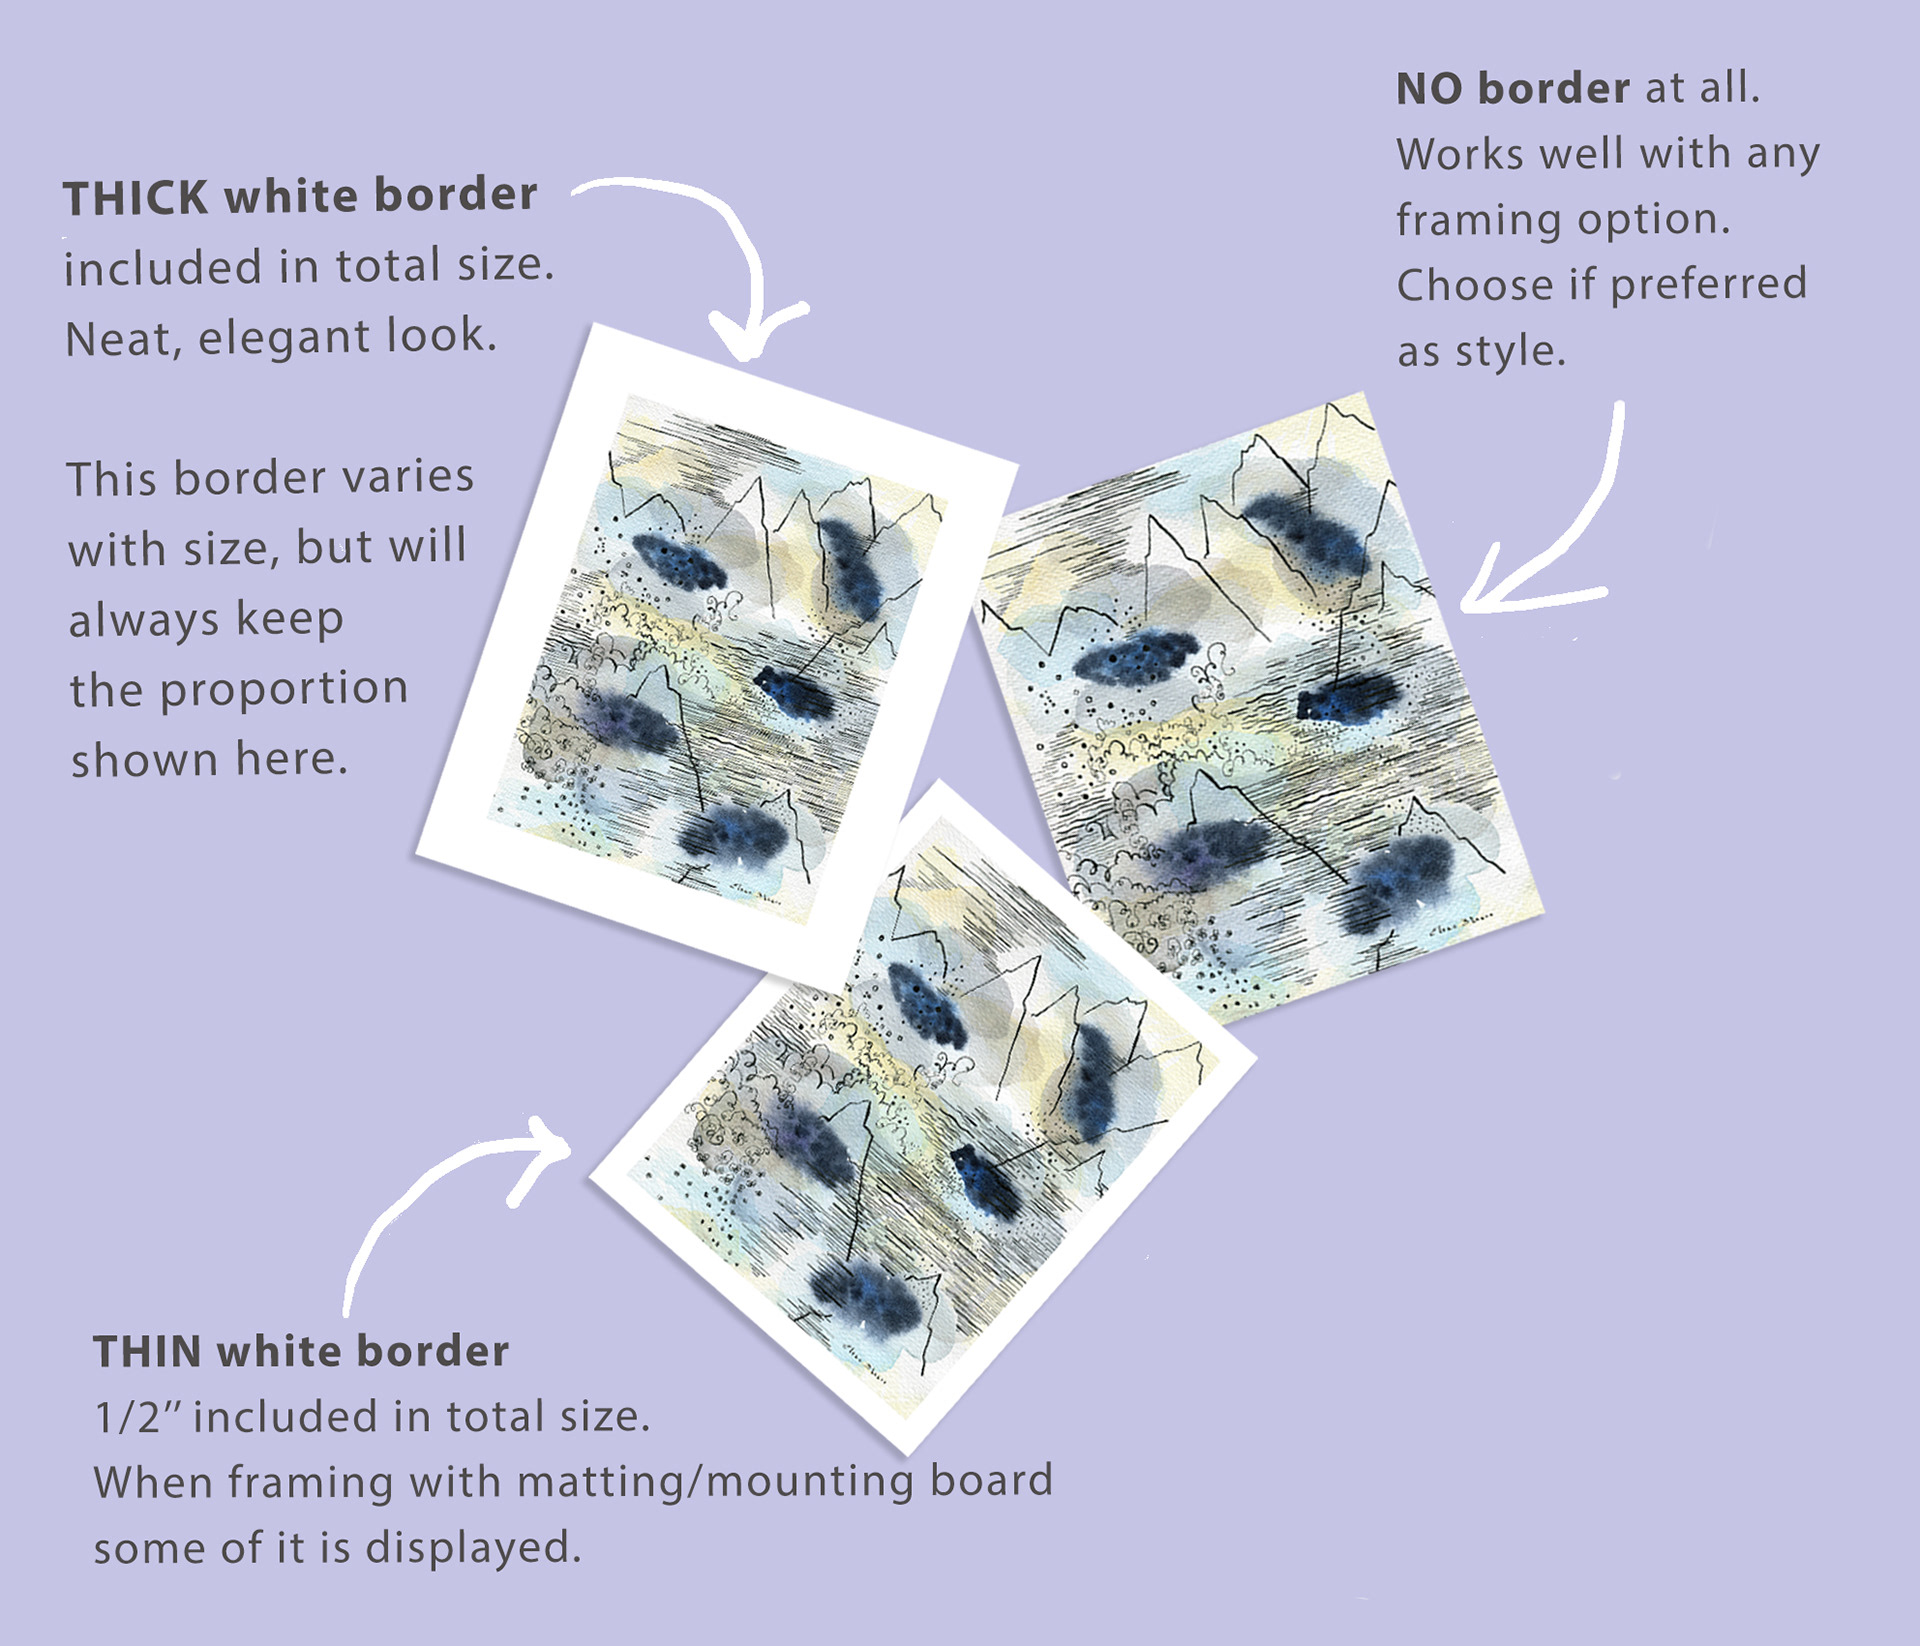
1. Thick white border option. This border is a favourite in our shop. The idea behind is to give the print a neat finish similar to what you get with matting/mounting board while keeping the process simple -meaning you can use a frame of the same size as the print.
2. No border option. This type of border can be used with any of the framing styles listed in this article. To use this instead of the others will be up to your taste or decorating ideas.
3. Thin white border. This border works beautifully when framing with board and you want to see a lovely second trim around the print -as shown above in example no 2.
Thanks for reading! I hope the above was useful. Need more clarification? Don't hesitate to contact me